Showing posts with label DIY. Show all posts

Thursday, April 4, 2013

It's the little things

Hi friends! I'm back :) It has been a while, huh!? I have my little miss on Spring break this week, and Noah's is next week. Josh's gramps passed away :( and my boy had the stomach flu last week (my very least favorite illness on the planet) and we have been busy busy with life. One thing we (by we, I mean my husband and father in law) have been up to is drywalling our icky garage.

Back story: My grandparents moved in to this house in 1982 and not one thing was done to the garage (except it was filled with the hoarded goods of ALL of my relatives). Ever since we moved here 3.5 years ago, Josh has been dreaming of having a nice garage. I am happy to report that we have accomplished phase one. Drywall. Ooooh, sounds exciting huh? Lol, well, it is for us :)

Before: EEEEW!
The first step was to add some electrical outlets. Eventually my hubby wants a work bench and possibly an energy efficient deep freezer so we needed to add these prior to drywalling.

After the electrical was done, it was time to drywall, mud, and paint :)
I didn't take too many "in progress" pictures, but here is what the after looks like:
Oooooh, ahhhhhhh! So clean and pretty! Love it!

I told my hubby that I wanted to make the laundry area "cute." He wasn't too thrilled with my gold polka dots suggestion, so I decided to keep it simple. My first addition.....
Chalkboard :)
Next, Josh added a cabinet for all of the laundry detergent etc...
My favorite feature that he added was this Martha Stewart hanging bar (from home depot I think). Lately I have been buying clothes that require "hang drying" (typically, I shy away from high maintenance laundry items) so this is going to be PERFECT!


(hang dry and iron. really, sweater!!? ugh)
LOVE love LoVe!


It is definitely still a garage. Cords, junk, water heater etc.
But still, it's definitely a HUGE improvement from where we started. I am sooooo lucky that my hubby is so handy and that my father in law was able to help him execute this big project. I'm still lobbying for gold polka dots and a cool light fixture. Baby steps. Pick my battles. Enjoy the ride :)
Happy almost Friday everyone!


Friday, March 1, 2013

TOO many "galleries" goin' on

Happy happy HaPpY FRIDAY everyone :) Can you tell I'm happy for the weekend. We are having BEAUTIFUL weather here in SoCal (like upper 70's by the beach). Tonight we are going on a double family dinner date with some friends and then tomorrow morning Noah's baseball team will be marching in the Festival of Whales parade. FUN! It should be a great weekend :)

Moving on...
Confession: I, like many other diy'ers, have home decor ADD. It's extreme. Lately, I have been craving a clean, clutter free space in my house. A retreat, if you will. Well, semi-recently, I have also hung everything I own on my walls. No joke. Like, serious gallery overload. Take a look.....


You can see in the above pic the ledge shelves "gallery" on the left, the new large prints of the kids straight ahead, and the gallery between the kid's rooms in the hall. I also have one over my desk as well as in Hayden's room. Just TOO many. The thing that tipped me over the edge was when I hung up these new prints of the kids (more on those in another post)

These are from our Xmas card photo shoot and I love love love the way they turned out. Anyway, too many galleries in my world. MUST simplify (ish). Lol.

My husband is in the process of semi-overhauling the garage (adding outlets and drywall) and he found this GIANT cork board in our rafters (this house once belonged to my grandparents, and after them, my mom). Anyway, it was a free score for me :)
It's long and skinny, and perfect for the space between the kid's rooms. I didn't take pictures of the process (not so great at tutorials) but I can tell you how to make over a office style cork board very easily.

Step1: pick out your fabric and cut it so it can wrap around the frame onto the back of the board.
Step 2. Use spray glue and cover the entire board (frame and all).
Step 3: Let glue sit for 2 minutes (or whatever your particular brand specifies) so the glue can get tacky.
Step 4: Lay the fabric over the board and smooth out with a straight edge to get the air bubbles out. If you get an air pocket, simply lift that area up gently and smooth over it with your straight edge (I used a wide long ruler). Make sure you get a crisp line on the inner edge of the frame (just run your finger nail along the inner edge).
Step 5: Let that sit over night.
Step 6: flip the board over and wrap the fabric over the back edge like a package and glue it down. For mine, I sprayed along the back edge of the frame and pulled the fabric tight.
Step 6: Let that dry.

I wanted the "nail head trim" look to mine, so I purchased gold thumb tacks from the dollar tree. $1 for 300 tacks - can't beat that! I used a ruler and spaced them out one inch apart all the way around the board on the inside of the framed edge. Easy!

Ready to see her!?
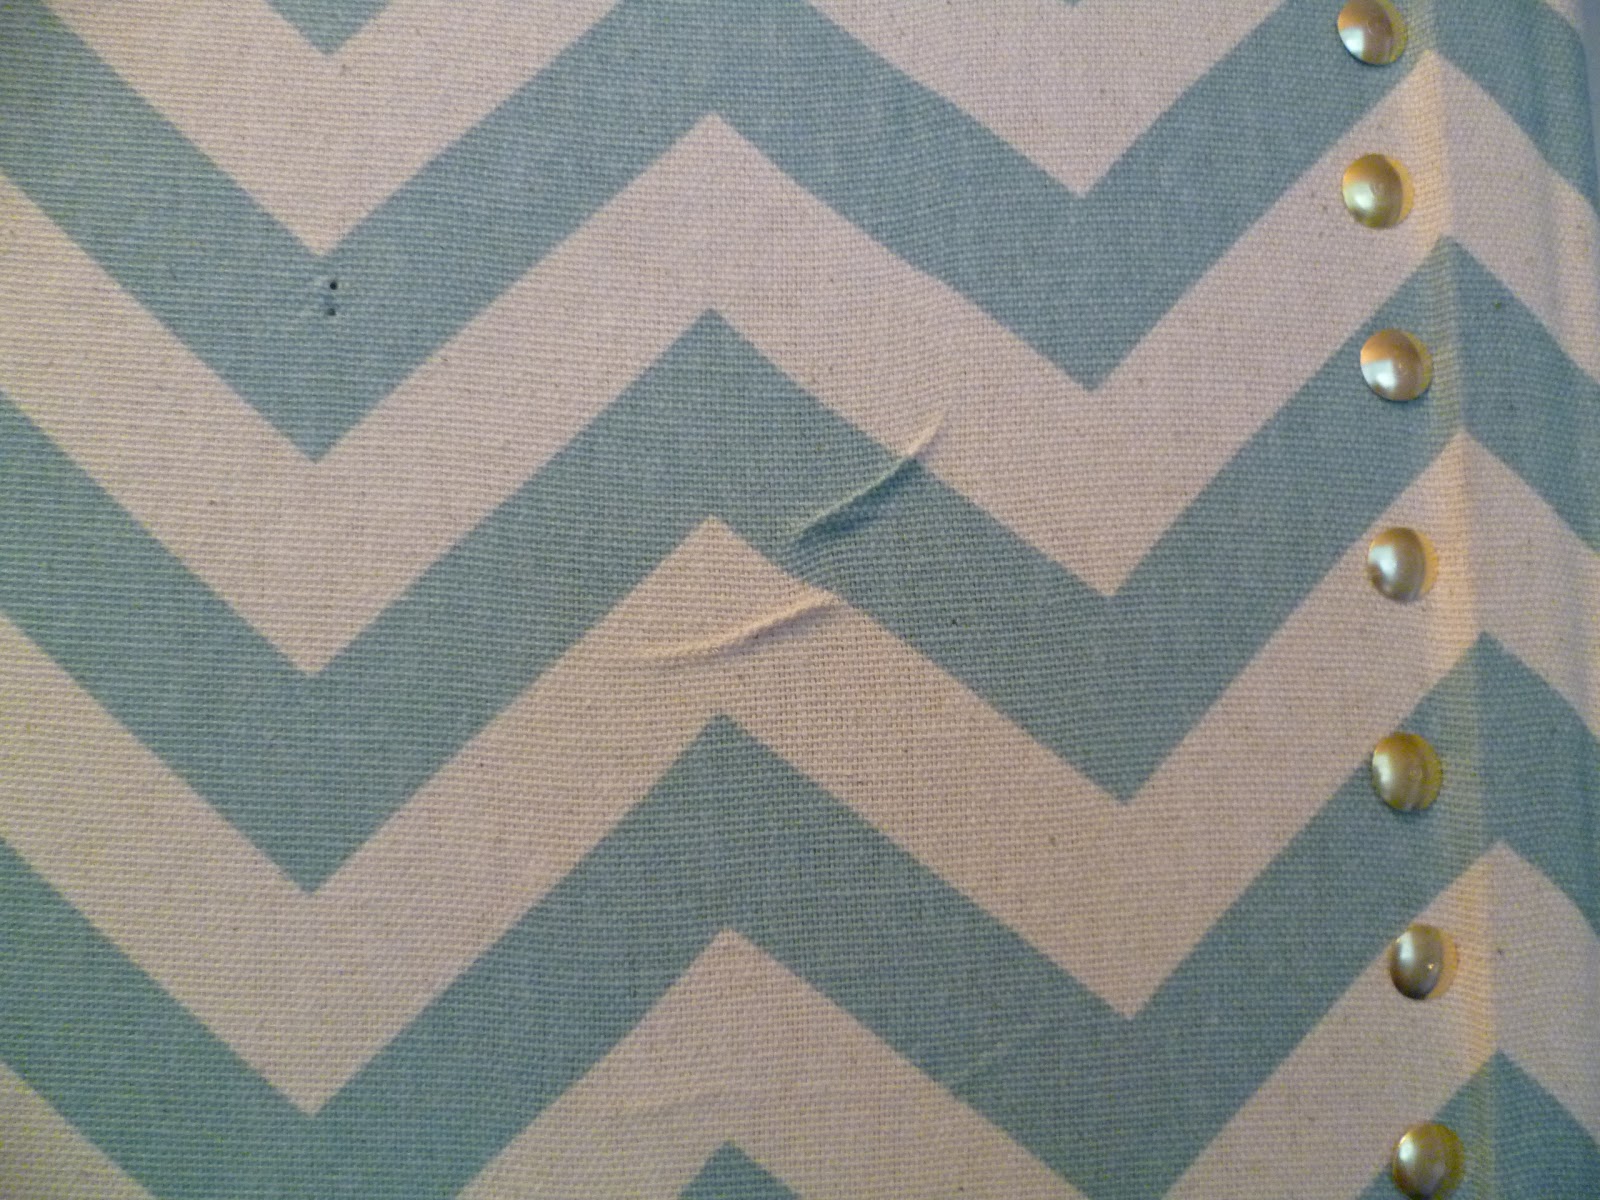
Close-up of the "nail heads"
 
Closer-up.
 
Keepin' it real....here's one area where the fabric bunched and I couldn't smooth it out before the glue got too dry...
 
 
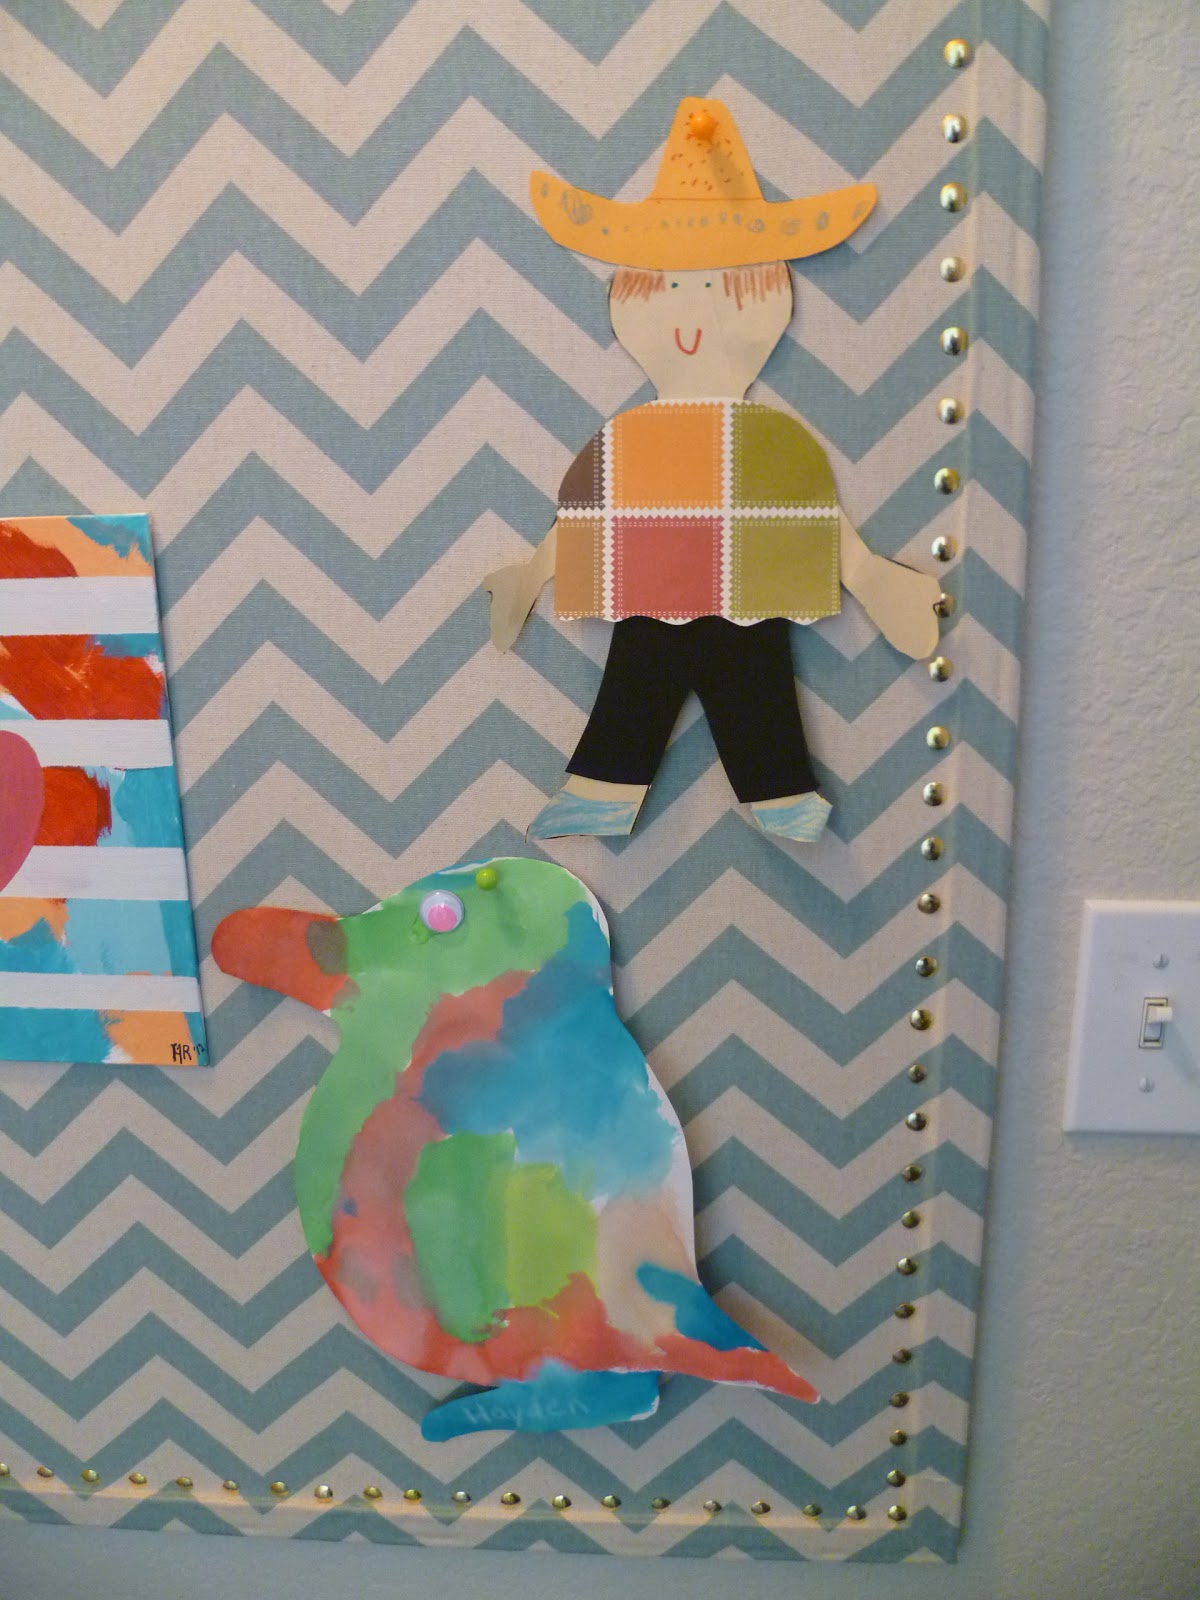
Not anything a carefully placed piece of kid art can't hide though...


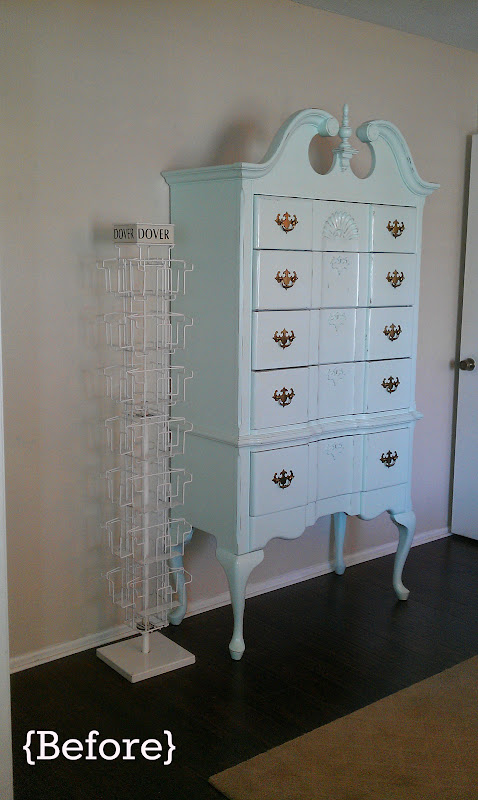
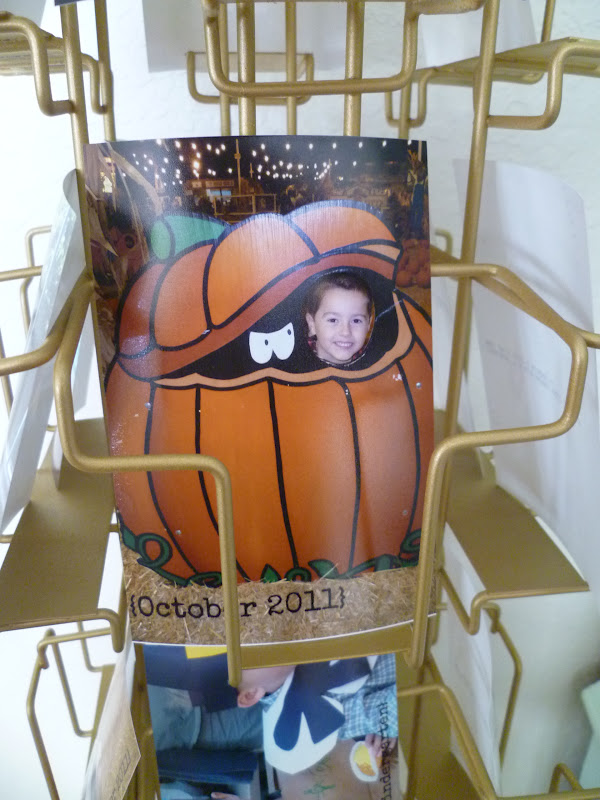
This board will now be the home to all of the kid artsy crafty crap. I think having it contained on one board will help it not look so "junky" if you know what I mean. Prior to adding this board, this is what we had goin' on....
 
UGH.
 
Hopefully this beauty will help contain the clutter and help us achieve that "retreat" feel throughout our home. Ok, who am I kidding. It's just a cork board for cryin' out loud. Haha!
 
 
Happy weekend! I hope you have a great one :)


Thursday, September 27, 2012

Aqua {LOVE}

Hello everyone, happy almost Friday!!! It is still hot hot hot over here in SoCal but I am dying for it to feel like Fall. Arg!

I wanted to share with you a little house update that has my heart goin' pitter patter. It's no secret to many of you who have been reading this blog that I loooooove me some aqua. It is my go to accent color always, and I use for pretty much every holiday. After bugging my husband for quite some time, he finally broke down and got to work (my nagging can feel like Chinese water torture, I'm told - lol). I could have attempted this project myself, but I tend to defer to the hubby when it is a major feature in our home. I get a tad......sloppy-ish when I paint, so it is best if the things that require precision and care get thrown his way.

Here is the before shot of our front door:


(sorry for the half-in-the-sun pics).
It's not a bad color by any means, but cranberry just isn't really "me."

Ready for the after shot!!??
Isn't it just the happiest front door ever!!?
I love it sooooooooooooooo much!!!
A special thanks to my sweet hubby for doing all the hard work (and doing it oh so well).
Life is {Aqua} and sweet!!!

Monday, September 24, 2012

Outside the box: Rotating photo display

Happy Monday everyone! I hope you had a nice weekend :) Thanks for all the painted pumpkin suggestions from my last post. I'm giving it some careful thought and will reveal my decision soon. Today I have a bit of a funky diy for you. A bit quirky and outside the box. Some may hate this (be kind) and some may love it. I absolutely LOVE this and have been wanting one for a long long time.

Backstory:
I saw this in the potterybarn catalogue a few years ago and was in love!! I wasn't in love with the $129 price tag though, and also didn't have the space in my tiny starter condo.
Fast forward to this past Friday while I was helping my mom work in the UNICEF store that she volunteers in and BAM!
This came home with me :)
They weren't using it in the shop anymore and it was just sitting in the back. YAY! Now, I know it's not as streamlined or elegant looking as the PB one, but f-r-e-e- is definitely the price for me!

Ready to see the after!!?

Gold goldy gold!!!!! Woohoooooo!!! Wanna see her closer up??!

(Sorry for the glare on the photos, it's a bright sunny day here in SoCal)

All I did was give her a good cleaning, and spray her with a matte gold spray paint (2 cans worth).

I had some fun in pic monkey adding dates and texts to some family photos. I also made sure to print them in "lustre" vs "glossy" so there wouldn't be so many finger prints.

My kids are having a blast spinning it around and looking through the photos. Heck, I am too!
Look at this one from last Halloween at Disneyland (notice Noah's face and Hayden's thoughts about it). Funny!

Haha!!!

So, what do ya think!!? Am I crazy!? are you clicking "unsubscribe" as we speak??!


Looooooooooooooooooooooove it!!! Lol! I know, I know. Crazy ;)
Have a wonderful week people!!!


Thursday, August 30, 2012

Chandelier {LOVE}

(Get ready for LOTS of pictures people).

I love chandeliers. I personally think every room should have one. Now, that is not practical nor affordable, I know. I have a chandelier. It's in my kitchen above my sink. I bought it with some wedding gift cards about 9 years ago when we bought our first condo. Wanna see it?
Close-up.
When we first bought it from Lowes I was in love with it. It was replacing a hideous ceiling fan in our tiny condo and I was thrilled. After we moved in to our current house 3 years ago, we hung it up over the sink and called it a day.

Once I started diy'ing the heck out of this house, I knew I wanted to change it. It just felt kind of blah and I knew it could use some freshening up. So, she came down.

My first step was to remove those clear beads that ran along the body of the chandelier. I also removed all of the amber drops (If I'm being honest, those were never my fave).

I gave her a thorough cleaning and then hung her from the tree in the backyard to get sprayed.
And then I had a panic attack because my spray paint freaked out. Ahhhhhhhh!
Look....
Every once in a while, My spray paint goes on all frothy and lumpy. I got a damp paper towel and gently smoothed it out as best as I could, and then continued.

Ready for picture-mania of the "after?"


Here's a closer look...

I found the antique lucite aqua prisms on etsy and they are perfection (if I do say so myself)!!

Here's a wide shot...
We also took down the black valance that we had over the window. We initially took it down to wash it, but it let so much more light in once we took it down so we're keeping it off.

{In LOVE}

It just looks so much more fresh and clean and I-just-love-it! Haha, Can you tell I love it!?
Thanks for enduring picture-mania. I hope you like this makeover :)
Happy Thursday!