Showing posts with label sewing adventures. Show all posts

Thursday, July 12, 2012

ALERT - I used my sewing machine.

H-e-l-l-o people! You read that title right. I actually sewed. Straight lines. A LOT of them!!! Remember me?? The girl that glue gunned seat covers on my chair cushion?? Remember me?? the queen of the no-sew bunting using iron-on hem tape?? Yep, that's me. I am no longer a sewing machine avoider. Nope. Not anymore :) Yay!

Back story....My Etsy shop has been at a bit of a stand-still. I haven't been focusing on it much lately, and it shows (insert crickets chirping sound here). Anyway, I've been wanting to get crafty and use some supplies that I have on hand to make some new fun items for my shop. I have a couple other things in the works, but this first one I want to share with you is super girly and fun.

Introducing The Garden Party Bunting :)


I had some fun this morning and set up a little "garden party" in my backyard. Haha!! If only Hayden was the type of child that would cooperate, I would have had her pose for me. Nope. Not happenin'!

I know the idea of a bunting made out of vintage sheets isn't original to me, but I think I put my girly eclectic spin on it. I also think these would look so cute at a tea party, baby shower, in a craft room, etc. The possibilities are endless!


All of my vintage sheets have a water-color floral look to them so I thought they were perfectly suited for a girly garden party. Oh how I wish I had an occasion to throw a fabulous garden party {sigh}.

I made five of these so far and they are packaged up and ready to go :)


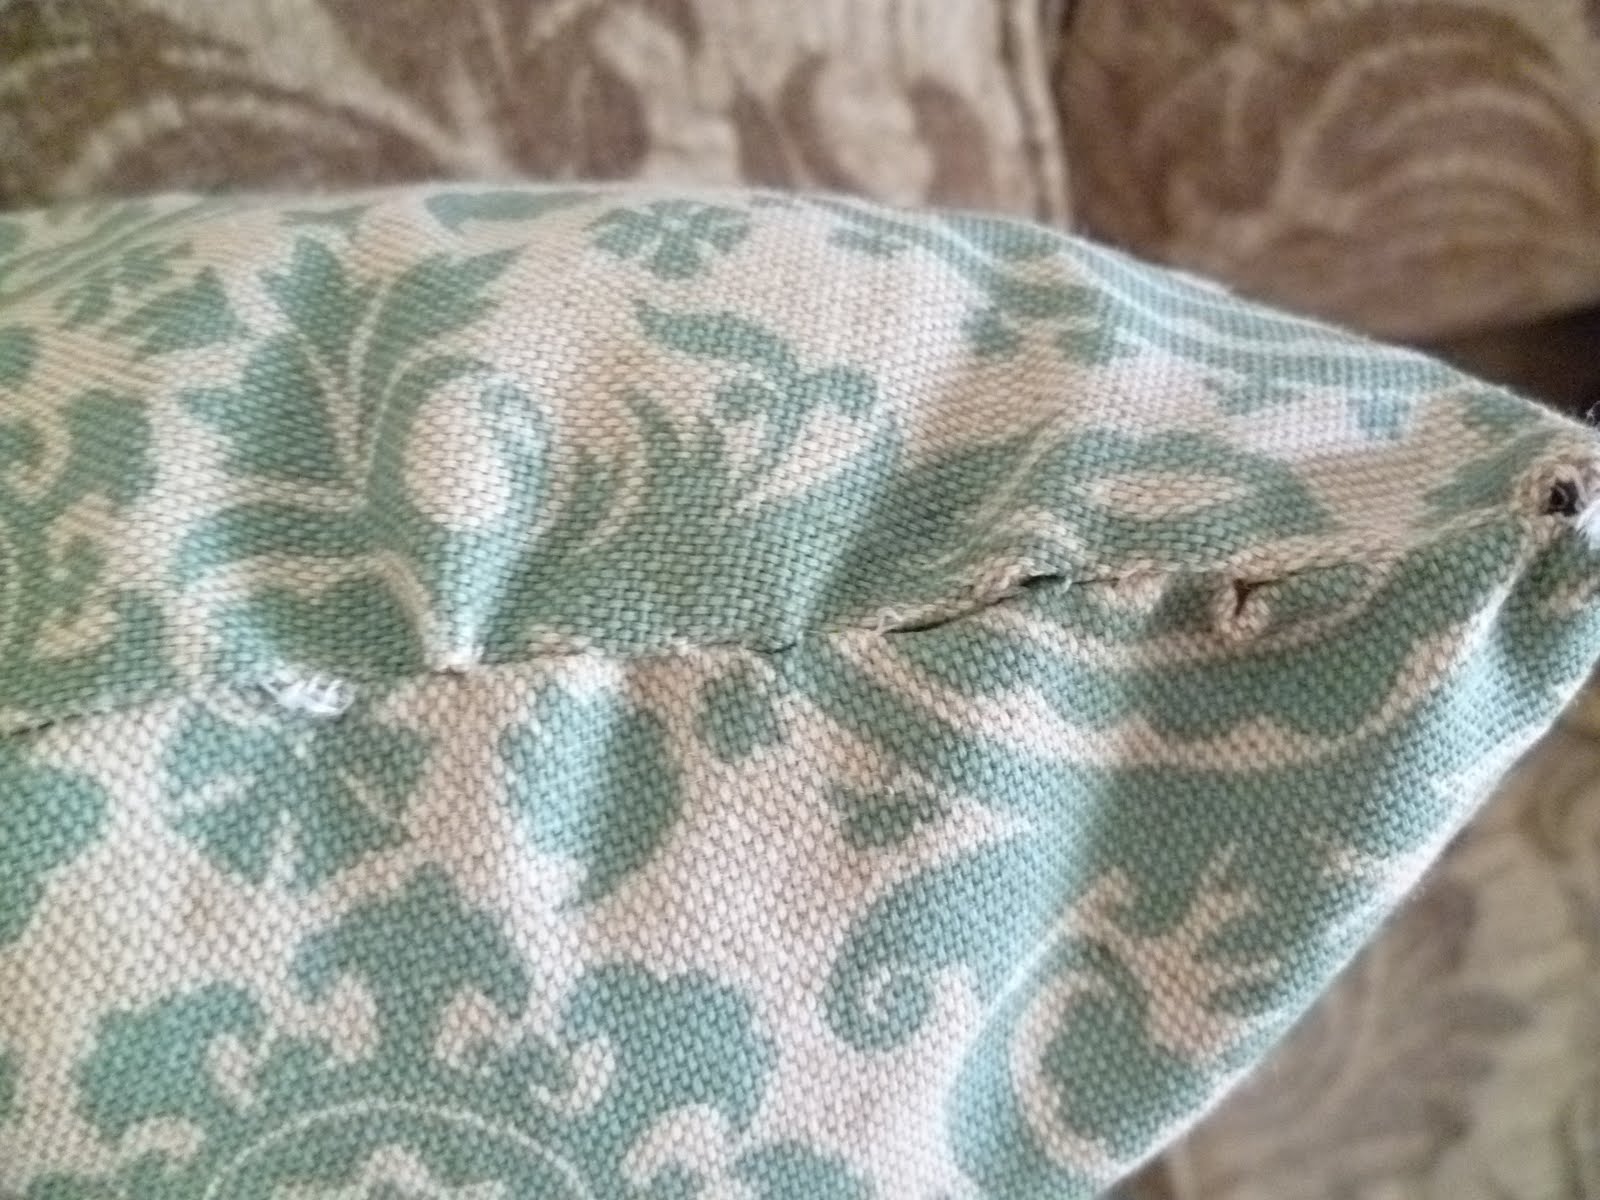
And here's a close-up of my straight lines...YAY. Seriously people, this is a big accomplishment for me :)

Hooray for sewing!!!

Now c'mon someone...throw a garden party!


Friday, June 3, 2011

Friday Misc.

It's Friday!! Just a bunch of randomness goin' on around here.

First up, let's all please welcome "Little Buddy" to the family. Fingers crossed people, this is the first WalMart Beta that we've bought. We'll see how it goes :)
Next, miss Hayden let me paint her some sassy pink nails. We're going to a funeral tomorrow (sadly Josh's aunt passed away suddenly) so we want her to look extra fancy.
And last but not least, I finished up my "beginner" couch pillows. As you can see, they aren't perfectly symmetrical, but they'll do for now.
I made a third pillow with my leftover fabric to toss on the smaller couch (or Fat man's chair as I like to call it).
And I think I'm getting better at hand stitching the closure too. Yay!
(and I'm going to pretend that I totally meant to do the back of this one reversed. Luckily it doesn't look to bad, but it was definitely not planned. Ah well. The kids were running ragged while I was doing it so my brain wasn't 100%). Still a TOTAL rookie, but it's ok :)

Have a GREAT weekend!!!!

Sunday, May 29, 2011

I {heart} nap time

Yesterday I had a pretty productive nap time. Sometimes I just feel like blobbing out on the couch while my kiddos rest, but other times I am full of energy and get right to work. Yesterday was one of those days. Please excuse the randomness of my projects, lately I've been working on many different things at once. First up, some more sewing. I'm getting a bit better, but still definitely need A LOT of practice. Here is my first official pillow ;)

My lines are getting a bit straighter which is definitely a good thing.


I still need to work on hand-stitching it closed after I stuff it, but I'm sure that will come with time (right?).
Overall, I would call my first official pillow a success. I'm still a total rookie for sure, but plan to continue on until I'm a master :)

Next up are two mini-makeovers for the flea market. My sis and I found this awesome "flea market" resource where they have tons of cheap junk just begging for a makeover. When I say cheap, I mean CHEAP. Both of these pieces were $1 each and I think I can make a few bucks off of them. We'll see.

I totally forgot to shoot a before picture, so you'll just have to visualize it. Picture the most boring light wood colored butcher block type napkin holder. Boring. Solid and practical, but bo-ring.

I spray painted it aqua (of course) and added a little burlap and faux nail heads (aka thumb tacks). If I'm being honest, this little project didn't turn out looking as chic as I had planned. Kind of crafty looking for my taste. But, even if I make $5 on it, I'l' be a happy girl.

I originally thought I could just stick the thumb tacks into the butcher block to attach the burlap, but it was too hard to push them in. So, I snipped off the pointy parts of the thumb tacks and used my glue gun to glue them on. I just free-handed the word "bonjour" on it for some French flavor. I don't know. Cute-ish. What the heck, it's just a napkin holder anyway. Ha ha.
Last but not least, a cow. Actually this little guy may make you want to stop reading my blog. Ha ha! I wouldn't consider my style "country." I am more beach cottage shabby chic - maybe a tad French country. A tad. But, this little cow belongs in a country kitchen for sure. (again, no before pic. Just picture the tackiest painted country cow you can think of).

He got coated in chalkboard paint and now he's a memo-cow :)  Mooooooooooo.
All in all, these last 2 mini makeovers aren't really my fave. But, I think if they're scattered around our other treasures at the flea market and priced to sell, I think they may find a happy home.
Bye for now ;)

Saturday, May 21, 2011

Adventures in Sewing: Part 1

Ok. About five and a half years ago, my mom bought my sister a sewing machine (because she is a linen-a-holic. About every 2 weeks or so, she wanted a new duvet cover).


 My sweet mom thought this would help her addiction and make it easier on her wallet - the ability to make her own. Well, since we already had the machine, my mom and I decided to use it to make Noah's crib bedding before he was born. It was definitely an adventure but the end result was great.


 Then, we packed up the little machine and it was never to be heard of again. About 6 months ago, my cousin asked if she could borrow it for a while. No problem! I handed over the box from the garage and she was on her sewing way. BUT, BIG PROBLEM. When she opened the box to get started, the instruction manual, pedal, and power cord were missing. WHAT?? We must not have packed it back in the box those looooong 5 years ago. Boooooo. Now what? Well, my cousin ordered the manual on-line, and I went to a local sewing shop and bought a replacement pedal and cord. Grrrrrr. Definitely cheaper than buying a whole new machine, but still. Grrrr. Ok, now let's get sewing.      Wait.      I.don't.know. how.to.sew!! See, when we made Noah's crib bedding, my mom did most of the actual sewing and I "helped."  Grrrrrrr.
So, with my manual on hand, it was time to experiment. I had picked up some "Cars" fabric for Noah at Joann's in the remnant bin to make him a pillow case. Easy enough, right??

Noah got to help me push the pedal and was in heaven (....and as you can see from this picture, I neglected to remember that I needed to turn it inside out so the seams wouldn't show. Ooops.). Regardless of it not being perfect, my boy LOVES it and that's all that matters.

My next project was inspired by my friend Cassie. She has recently been making buntings out of vintage fabric (and since I'm a total copy cat, I had to give it a try). I found a vintage sheet at the thrift store for $.75. After washing it in scalding hot water, ha ha, I cut it in to triangles and gave it a whirl. Here is the debut of my first ever sewn bunting!!!


Isn't it pretty!!?? I took Cassie's suggestion and bought some packs of Bias Tape...it worked like a charm (well it would have if I could sew a straight line to save my life, ha ha).

There are a few areas that look like this, ha ha


and this.....

But, I plan to keep practicing until these little guys will be good enough to sell in my Etsy shop and at the flea market. We'll see how it goes :)

Happy Saturday!!!!